Drywall Finishing and Taping Tips
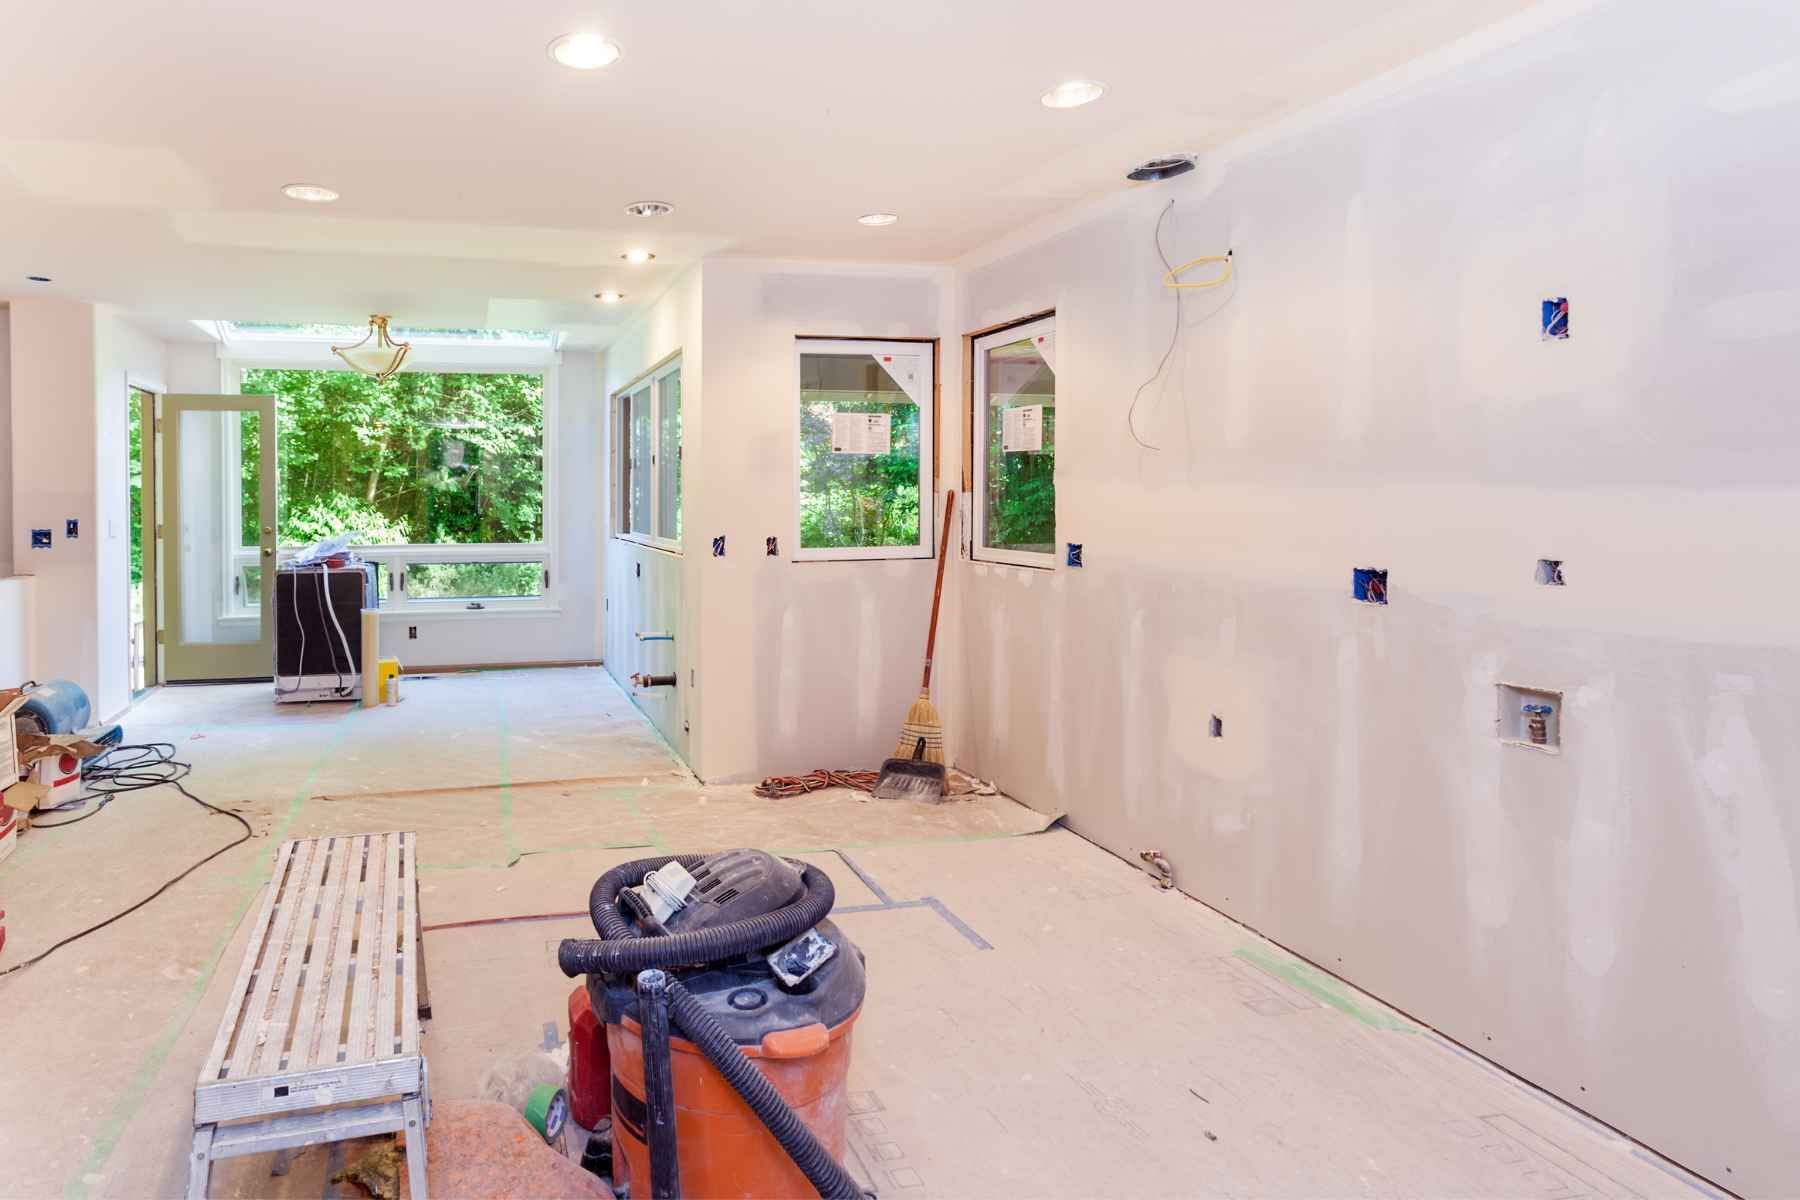
The process of finishing and taping drywall is a critical step in achieving smooth, seamless walls and ceilings in any construction or renovation project. While it may seem daunting to novice DIYers or even experienced contractors, mastering the art of drywall finishing and taping can significantly elevate the quality of your interior spaces. In this guide, we'll explore essential tips and techniques to help you achieve professional-grade results.
Prepare the Surface
Before beginning the taping and finishing process, ensure that the drywall surface is clean, dry, and free of dust or debris. Use a drywall sander or sanding block to smooth out any rough patches or imperfections, and wipe down the surface with a damp cloth to remove excess dust.
Choose the Right Tools and Materials
Investing in high-quality tools and materials is essential for achieving professional results. Here are some essential items you'll need:
Drywall tape (paper or fiberglass mesh)
Joint compound (mud)
Drywall knives (4-inch, 6-inch, and 12-inch)
Corner tools (inside and outside corners)
Sandpaper or sanding sponge
Trowel or mud pan
Apply the Tape
Start by applying drywall tape over the joints between the drywall panels. Paper tape is the traditional choice and is applied by embedding it into a thin layer of joint compound. Fiberglass mesh tape is another option, which is self-adhesive and requires less initial mud application.
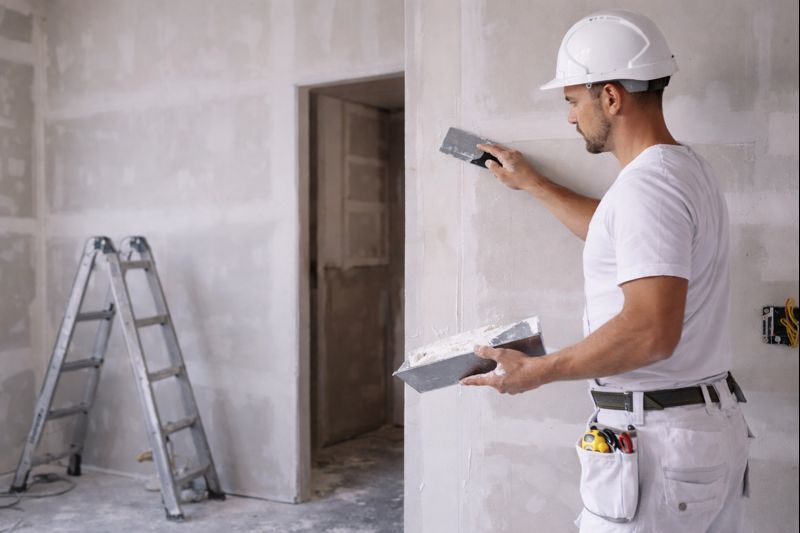
Feather the Edges
When applying joint compound over the tape, use a wide drywall knife to feather the edges and blend them seamlessly into the surrounding drywall. Apply multiple thin coats of mud, allowing each layer to dry completely before sanding and applying the next coat.
Use the Right Techniques
Apply even pressure when smoothing out the joint compound to avoid creating ridges or bumps. Use long, smooth strokes with the drywall knife to achieve a uniform finish. For inside corners, use a corner tool to apply and feather the joint compound smoothly. For outside corners, apply a corner bead and use a corner tool or trowel to embed it into the joint compound.
Sand Between Coats
After each coat of joint compound has dried, lightly sand the surface with fine-grit sandpaper or a sanding sponge to smooth out any imperfections or rough patches. Be careful not to sand too aggressively, as this can damage the drywall and create uneven surfaces.
Prime and Paint
Once the final coat of joint compound has dried and been sanded smooth, it's time to prime the surface before painting. Primer helps seal the drywall and provides a smooth base for the paint to adhere to. Choose a high-quality primer suitable for drywall and allow it to dry completely before applying paint.
Practice Patience
Drywall finishing and taping require patience and attention to detail. Rushing the process or applying too much joint compound can result in uneven surfaces and visible seams. Take your time and focus on achieving smooth, seamless results with each coat of mud and tape.
Mastering the art of drywall finishing and taping is essential for achieving professional-grade results in any construction or renovation project. By following these tips and techniques, you can transform ordinary drywall surfaces into smooth, seamless walls and ceilings that enhance the beauty and functionality of your interior spaces. If you need a little help with a project, don't hesitate to call the drywall installation experts at Drywall Victoria!
You might also like