Why Hiring a Professional Drywall Contractor Matters

January 4, 2026

The Importance of Professional Drywall Work

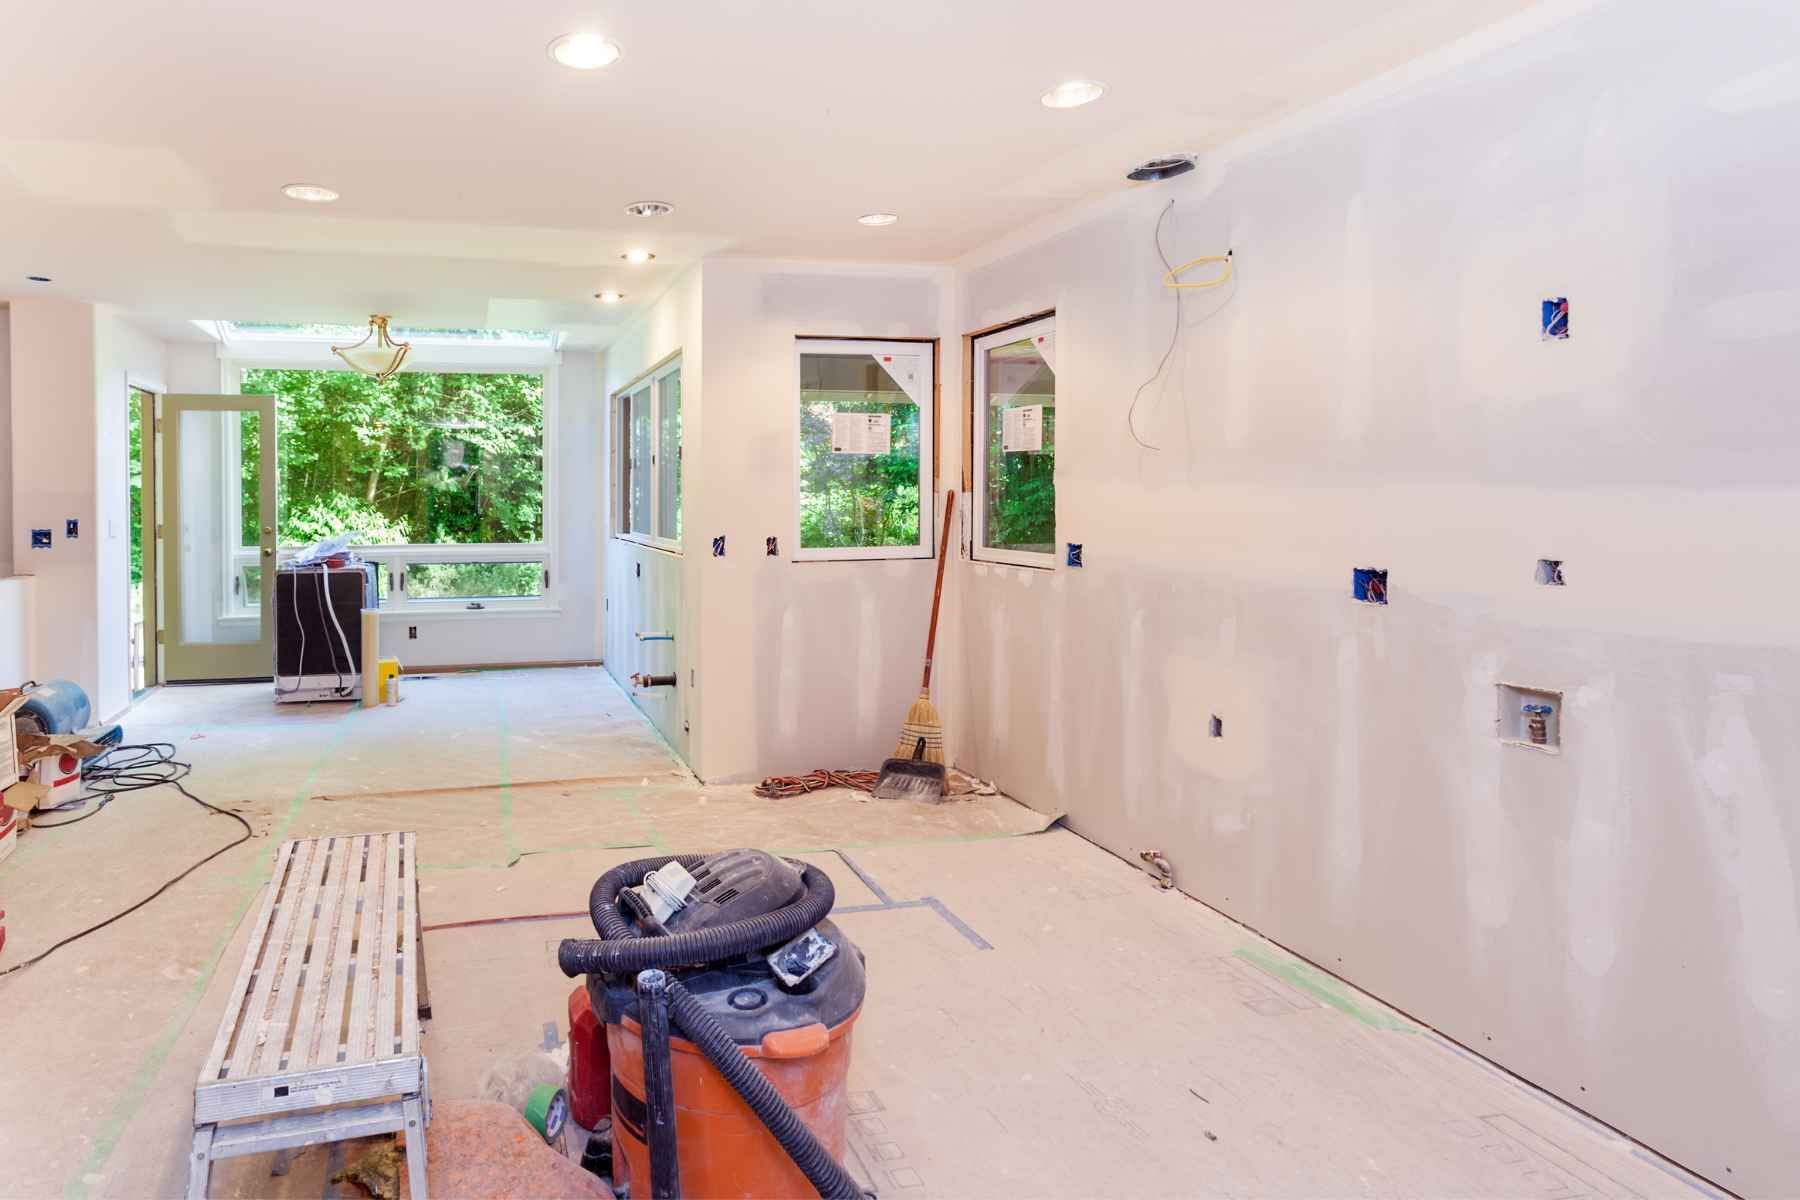
Drywall plays a critical role in the look, comfort, and durability of any interior space. While it may seem straightforward, drywall installation and finishing require precision, experience, and the right techniques to achieve a smooth and long lasting result. This is why hiring a professional drywall contractor truly matters.

From new construction to renovations and repairs, professional drywall services ensure quality workmanship, efficiency, and peace of mind.

Quality Workmanship and a Flawless Finish

One of the biggest advantages of hiring a professional drywall contractor is the quality of the final result. Professionals understand how to properly measure, cut, install, tape, and finish drywall so that walls and ceilings look smooth and seamless.

Small mistakes such as uneven joints, visible screw heads, or poor taping can become very noticeable once paint and lighting are applied. A professional contractor has the skills and experience to avoid these issues, delivering clean lines and a polished finish that enhances the overall appearance of your space.

Proper Tools and Techniques

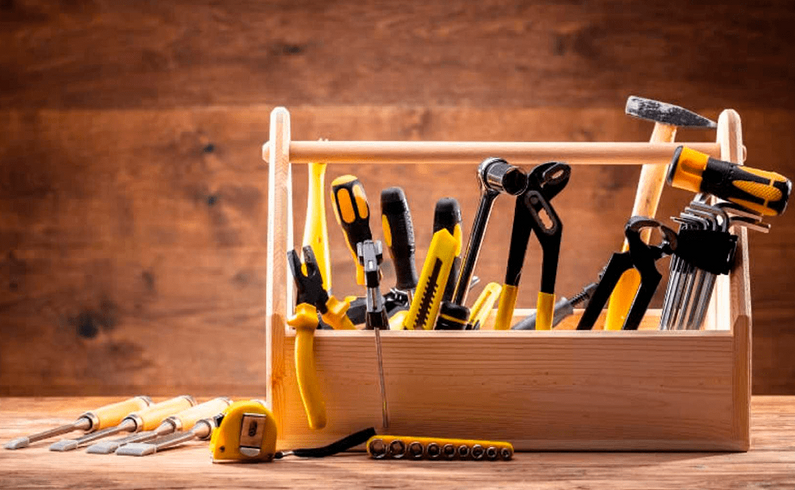
Drywall installation requires specialized tools and materials that most homeowners do not have readily available. Professional drywall contractors arrive fully equipped with the proper tools to complete the job efficiently and safely.

They also use proven techniques that ensure durability and structural integrity. This includes proper fastening, correct joint compound application, and appropriate sanding methods. These details may seem minor, but they make a major difference in how the drywall performs over time.

Time Efficiency and Cost Savings

While some people attempt drywall work as a do it yourself project, it often takes significantly longer and can lead to costly mistakes. Hiring a professional drywall contractor saves time by completing the job efficiently and according to schedule.

Professionals know how to avoid material waste, reduce rework, and complete each stage correctly the first time. This can ultimately save money by preventing repairs, uneven surfaces, or the need to redo sections later on.

Compliance With Building Standards

Professional drywall contractors are familiar with local building codes and construction standards. This is especially important for projects involving fire rated drywall, soundproofing, or moisture resistant materials.

Hiring a professional ensures that the drywall installation meets all required regulations, which can be critical for inspections, insurance purposes, and long term safety.

Clean and Safe Job Site

Drywall work generates dust and debris that can quickly spread throughout a home or commercial space. Professional contractors take proper precautions to protect surrounding areas and maintain a clean job site.

They also follow safety practices when handling heavy sheets, working at heights, or using power tools. This reduces the risk of accidents and ensures a smoother renovation process.

Long Term Durability and Peace of Mind

A professionally installed drywall system is built to last. When drywall is properly installed and finished, it resists cracking, nail pops, and visible joint lines over time.

Hiring a professional drywall contractor gives you confidence that the work is done correctly and backed by experience. This peace of mind is especially valuable for homeowners, property managers, and businesses investing in long term improvements.

Choosing Quality for Long Term Performance

Hiring a professional drywall contractor is an investment in quality, efficiency, and durability. From flawless finishes to code compliance and long term performance, professional drywall services deliver results that are difficult to achieve otherwise. Whether you are building new, renovating, or repairing existing walls, choosing an experienced drywall contractor ensures your project is completed to the highest standard and enhances the overall value of your space.

You might also like

June 4, 2025
Noticed a crack above your doorframe? A weird bubble under the paint? Or maybe your drywall has seen better days after years of wear and tear? If you’re wondering whether to patch things up or start fresh, you’re not alone. At Drywall Victoria CNL , we get this question all the time: "Should I repair my drywall, or does it need to be replaced entirely?" Let’s break it down simply, so you know what’s best for your home and your wallet.
May 2, 2024
Embarking on a do-it-yourself (DIY) drywall project can be both rewarding and challenging. Whether you're repairing a small hole or tackling a larger renovation, having the right tools and equipment is crucial for achieving professional-looking results. In this guide, we'll outline the essential drywall tools and equipment that every DIYer should have in their arsenal. Utility Knife A sharp utility knife is indispensable for cutting drywall panels to size, scoring and snapping them along straight lines, and trimming edges with precision. Look for a retractable knife with a comfortable grip and replaceable blades for efficiency and safety. Taping Knife Taping knives come in various sizes, but a 6-inch and 12-inch knife are essential for applying joint compound (mud) and smoothing tape during the taping and mudding process. Opt for stainless steel blades for durability and easy cleanup. Drywall Saw or Jab Saw For cutting openings for electrical outlets, light switches, or plumbing fixtures, a drywall saw or jab saw is indispensable. These saws feature sharp teeth designed to cut through drywall cleanly and efficiently. Drywall Screw Gun Driving screws into drywall by hand can be tedious and time-consuming. A drywall screw gun, specifically designed for this purpose, makes the task much faster and more effortless. Look for a screw gun with depth adjustment settings to ensure consistent screw depth without damaging the drywall surface. Drywall T-Square A drywall T-square is essential for marking and cutting straight lines on drywall panels accurately. This L-shaped tool provides a straight edge for scoring and snapping panels cleanly along predetermined measurements. Mud Pan A mud pan is a shallow, flat-bottomed container used for holding and mixing joint compound during the taping and mudding process. Choose a stainless steel or plastic mud pan with tapered sides for easy scooping and minimal waste. Sanding Block or Pole Sander After applying joint compound, sanding is necessary to smooth out imperfections and achieve a seamless finish. A sanding block or pole sander fitted with fine-grit sandpaper is ideal for this task, ensuring smooth, uniform results without damaging the drywall surface. Corner Trowel To achieve clean, crisp corners when taping and mudding inside corners, a corner trowel is indispensable. This specialized tool features a narrow blade designed to fit into tight spaces and create smooth, straight edges along corners. Drywall Lift (Optional) For larger projects or ceiling installations, a drywall lift can be a game-changer. This mechanical device holds drywall panels in place, allowing a single person to lift and position panels accurately without assistance. While not essential for small-scale DIY projects, a drywall lift can significantly reduce strain and simplify the installation process for larger jobs. With the right tools and equipment at your disposal, tackling a DIY drywall project becomes much more manageable and enjoyable. Whether you're patching a small hole or renovating an entire room, investing in high-quality tools designed specifically for drywall work will help you achieve professional-looking results and save time and frustration in the process. If you ever get in over your head on your project, don't hesitate to call us. Our drywall installation and repair experts are always ready to help!
March 9, 2024
The process of finishing and taping drywall is a critical step in achieving smooth, seamless walls and ceilings in any construction or renovation project. While it may seem daunting to novice DIYers or even experienced contractors, mastering the art of drywall finishing and taping can significantly elevate the quality of your interior spaces. In this guide, we'll explore essential tips and techniques to help you achieve professional-grade results. Prepare the Surface Before beginning the taping and finishing process, ensure that the drywall surface is clean, dry, and free of dust or debris. Use a drywall sander or sanding block to smooth out any rough patches or imperfections, and wipe down the surface with a damp cloth to remove excess dust. Choose the Right Tools and Materials Investing in high-quality tools and materials is essential for achieving professional results. Here are some essential items you'll need: Drywall tape (paper or fiberglass mesh) Joint compound (mud) Drywall knives (4-inch, 6-inch, and 12-inch) Corner tools (inside and outside corners) Sandpaper or sanding sponge Trowel or mud pan Apply the Tape Start by applying drywall tape over the joints between the drywall panels. Paper tape is the traditional choice and is applied by embedding it into a thin layer of joint compound. Fiberglass mesh tape is another option, which is self-adhesive and requires less initial mud application. Feather the Edges When applying joint compound over the tape, use a wide drywall knife to feather the edges and blend them seamlessly into the surrounding drywall. Apply multiple thin coats of mud, allowing each layer to dry completely before sanding and applying the next coat. Use the Right Techniques Apply even pressure when smoothing out the joint compound to avoid creating ridges or bumps. Use long, smooth strokes with the drywall knife to achieve a uniform finish. For inside corners, use a corner tool to apply and feather the joint compound smoothly. For outside corners, apply a corner bead and use a corner tool or trowel to embed it into the joint compound. Sand Between Coats After each coat of joint compound has dried, lightly sand the surface with fine-grit sandpaper or a sanding sponge to smooth out any imperfections or rough patches. Be careful not to sand too aggressively, as this can damage the drywall and create uneven surfaces. Prime and Paint Once the final coat of joint compound has dried and been sanded smooth, it's time to prime the surface before painting. Primer helps seal the drywall and provides a smooth base for the paint to adhere to. Choose a high-quality primer suitable for drywall and allow it to dry completely before applying paint. Practice Patience Drywall finishing and taping require patience and attention to detail. Rushing the process or applying too much joint compound can result in uneven surfaces and visible seams. Take your time and focus on achieving smooth, seamless results with each coat of mud and tape. Mastering the art of drywall finishing and taping is essential for achieving professional-grade results in any construction or renovation project. By following these tips and techniques, you can transform ordinary drywall surfaces into smooth, seamless walls and ceilings that enhance the beauty and functionality of your interior spaces. If you need a little help with a project, don't hesitate to call the drywall installation experts at Drywall Victoria !
estimated_quoteArtboard 3

FREE QUOTE

Request a quote

Contact Us