What Type of Drywall Should Be Used in a Bathroom?

Sep 26, 2021

What Type of Drywall Should be Used in a Bathroom?

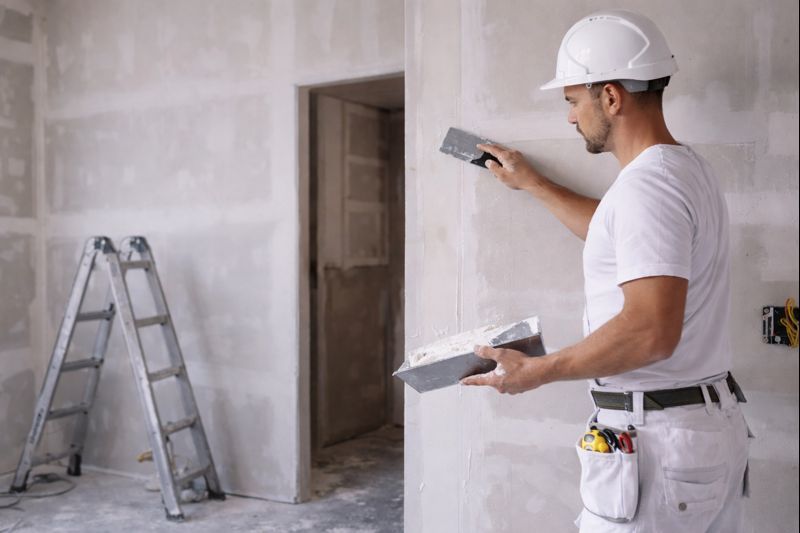
Drywall is one of the most common materials installed in buildings today.  Not all drywall is the same, however.  For certain areas of a home or other building, special types of drywall should be used.  This is especially true for high moisture areas like bathrooms.


Bathroom walls and ceilings do not frequently come into direct contact with water, but they are still exposed to high levels of moisture on a regular basis.  Regular drywall is not recommended in bathrooms as it can easily absorb this moisture and mold or even disintegrate.  Instead, bathroom walls should be constructed from drywall that is resistant to mold, mildew, and moisture.


The best product to use for bathroom walls is MMR drywall, also known as green board.  Green board is infused with additives on both the inside and outside to make it moisture resistant, and its outer paper is coated with wax to help repel moisture.  Blueboard is a great choice for areas of bathroom walls that will be covered in tile or other wall treatments because, in addition to being moisture resistant, it bonds well with adhesives.  Mold resistant drywall mud and tape should be used on the seams of either of these products.


Green board is not waterproof, however, and it cannot withstand heavy and prolonged exposure to moisture.  For showers, backsplashes, or other areas that will come into direct contact with water on a regular basis, cement board should be used.  Since cement board does not contain paper or any other organic materials, it will not mold and is considered waterproof.  Cement board is also more expensive, heavier, and more difficult to install than other types of drywall, so it is often only used in areas where direct contact with water is likely.


Regardless of which drywall you use, it is always a good idea to use a waterproofing primer in your bathroom.  These oil or latex based primers provide additional protection against mold and mildew, discouraging problems from ever reaching the drywall in the first place.  Steps should also be taken to keep the moisture level in the bathroom to a minimum - installing and running a fan in the bathroom or simply cracking a window while you shower will help keep moisture levels under control, helping to prevent damage to your drywall (and everything else in the bathroom).


You spend a significant amount of time in your bathroom, and it is subject to more variances in climate than most other rooms in your home.  Therefore, bathroom walls and ceilings deserve special treatment.  Moisture resistant drywall may cost a little more than standard drywall, but the expense is well worth it to keep your walls mold-free and structurally sound.  With the proper materials and a little bit of preventative maintenance, you can enjoy a relaxing bath knowing that there is nothing growing in or slowly rotting out your walls!


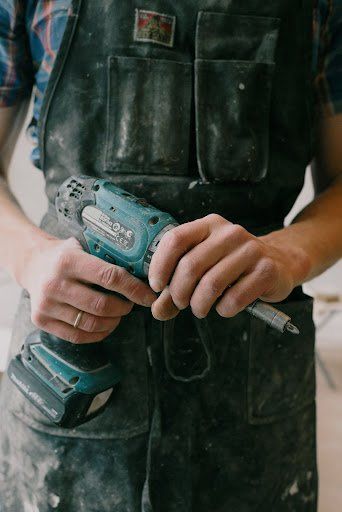
Still have questions?
Our professionals are here to help with all your drywall needs!


You might also like

02 May, 2024
Embarking on a do-it-yourself (DIY) drywall project can be both rewarding and challenging. Whether you're repairing a small hole or tackling a larger renovation, having the right tools and equipment is crucial for achieving professional-looking results. In this guide, we'll outline the essential drywall tools and equipment that every DIYer should have in their arsenal. Utility Knife A sharp utility knife is indispensable for cutting drywall panels to size, scoring and snapping them along straight lines, and trimming edges with precision. Look for a retractable knife with a comfortable grip and replaceable blades for efficiency and safety. Taping Knife Taping knives come in various sizes, but a 6-inch and 12-inch knife are essential for applying joint compound (mud) and smoothing tape during the taping and mudding process. Opt for stainless steel blades for durability and easy cleanup. Drywall Saw or Jab Saw For cutting openings for electrical outlets, light switches, or plumbing fixtures, a drywall saw or jab saw is indispensable. These saws feature sharp teeth designed to cut through drywall cleanly and efficiently. Drywall Screw Gun Driving screws into drywall by hand can be tedious and time-consuming. A drywall screw gun, specifically designed for this purpose, makes the task much faster and more effortless. Look for a screw gun with depth adjustment settings to ensure consistent screw depth without damaging the drywall surface. Drywall T-Square A drywall T-square is essential for marking and cutting straight lines on drywall panels accurately. This L-shaped tool provides a straight edge for scoring and snapping panels cleanly along predetermined measurements. Mud Pan A mud pan is a shallow, flat-bottomed container used for holding and mixing joint compound during the taping and mudding process. Choose a stainless steel or plastic mud pan with tapered sides for easy scooping and minimal waste. Sanding Block or Pole Sander After applying joint compound, sanding is necessary to smooth out imperfections and achieve a seamless finish. A sanding block or pole sander fitted with fine-grit sandpaper is ideal for this task, ensuring smooth, uniform results without damaging the drywall surface. Corner Trowel To achieve clean, crisp corners when taping and mudding inside corners, a corner trowel is indispensable. This specialized tool features a narrow blade designed to fit into tight spaces and create smooth, straight edges along corners. Drywall Lift (Optional) For larger projects or ceiling installations, a drywall lift can be a game-changer. This mechanical device holds drywall panels in place, allowing a single person to lift and position panels accurately without assistance. While not essential for small-scale DIY projects, a drywall lift can significantly reduce strain and simplify the installation process for larger jobs. With the right tools and equipment at your disposal, tackling a DIY drywall project becomes much more manageable and enjoyable. Whether you're patching a small hole or renovating an entire room, investing in high-quality tools designed specifically for drywall work will help you achieve professional-looking results and save time and frustration in the process. If you ever get in over your head on your project, don't hesitate to call us. Our drywall installation and repair experts are always ready to help!
09 Mar, 2024
The process of finishing and taping drywall is a critical step in achieving smooth, seamless walls and ceilings in any construction or renovation project. While it may seem daunting to novice DIYers or even experienced contractors, mastering the art of drywall finishing and taping can significantly elevate the quality of your interior spaces. In this guide, we'll explore essential tips and techniques to help you achieve professional-grade results. Prepare the Surface Before beginning the taping and finishing process, ensure that the drywall surface is clean, dry, and free of dust or debris. Use a drywall sander or sanding block to smooth out any rough patches or imperfections, and wipe down the surface with a damp cloth to remove excess dust. Choose the Right Tools and Materials Investing in high-quality tools and materials is essential for achieving professional results. Here are some essential items you'll need: Drywall tape (paper or fiberglass mesh) Joint compound (mud) Drywall knives (4-inch, 6-inch, and 12-inch) Corner tools (inside and outside corners) Sandpaper or sanding sponge Trowel or mud pan Apply the Tape Start by applying drywall tape over the joints between the drywall panels. Paper tape is the traditional choice and is applied by embedding it into a thin layer of joint compound. Fiberglass mesh tape is another option, which is self-adhesive and requires less initial mud application. Feather the Edges When applying joint compound over the tape, use a wide drywall knife to feather the edges and blend them seamlessly into the surrounding drywall. Apply multiple thin coats of mud, allowing each layer to dry completely before sanding and applying the next coat. Use the Right Techniques Apply even pressure when smoothing out the joint compound to avoid creating ridges or bumps. Use long, smooth strokes with the drywall knife to achieve a uniform finish. For inside corners, use a corner tool to apply and feather the joint compound smoothly. For outside corners, apply a corner bead and use a corner tool or trowel to embed it into the joint compound. Sand Between Coats After each coat of joint compound has dried, lightly sand the surface with fine-grit sandpaper or a sanding sponge to smooth out any imperfections or rough patches. Be careful not to sand too aggressively, as this can damage the drywall and create uneven surfaces. Prime and Paint Once the final coat of joint compound has dried and been sanded smooth, it's time to prime the surface before painting. Primer helps seal the drywall and provides a smooth base for the paint to adhere to. Choose a high-quality primer suitable for drywall and allow it to dry completely before applying paint. Practice Patience Drywall finishing and taping require patience and attention to detail. Rushing the process or applying too much joint compound can result in uneven surfaces and visible seams. Take your time and focus on achieving smooth, seamless results with each coat of mud and tape. Mastering the art of drywall finishing and taping is essential for achieving professional-grade results in any construction or renovation project. By following these tips and techniques, you can transform ordinary drywall surfaces into smooth, seamless walls and ceilings that enhance the beauty and functionality of your interior spaces. If you need a little help with a project, don't hesitate to call the drywall installation experts at Drywall Victoria !
10 Jan, 2024
Choosing the Right Drywall for Your Project: A Comprehensive Guide
More Posts
estimated_quoteArtboard 3

FREE QUOTE

Request a quote

Contact Us

Share by: